More frugal pet things
Since Day 1 our cats have always been given cardboard scratchers. It helps keep them from scratching on our walls, furniture and the carpet. I recently saw an episode of "My Cat from Hell" and they had these AWESOME blocks made from cardboard that the cats could scratch and climb on. www.moderncat.net had a link to them.
 In fact moderncat had a TON of awesome cardboard cat beds/scratchers. But with most of them starting at $50 and working their way on up, I just couldn't spend that kind of money. Instead I decided to try my hand at making a couple of my own, after all it is just cardboard that's stuck together. First thing I had to do was get ahold of a bunch of cardboard boxes. I had the hubby keep an eye out for me at his work and luckily for me he got ahold of 15 identically sized square boxes. (Can't go wrong with free and up-cycling!)
The next thing I had to do was to cut all of the boxes up.


I opted to make the square box sides into a cube. It took a while to mark all of the sides and then cut out the center of them. Before I could even attach them together Ginny cat decided that she liked the idea and I got to play ring toss with a cat as the post.

After I got all of the squares cut out I glued them together using hot glue. it took a LONG LONG time and about 5 glue sticks, My hand was also sore from squeezing the trigger so much, but it held up even when I managed to knock it onto the floor.


Even though the pieces stuck together really well I decided since the cats were probably going to be lounging, scratching and jumping on this one a ton that I would duct tape the sides. It also added a nice pop of color :)
So here are all of the cat's checking it out. Milo of course being the extremely fat cat that he is beat the other cats out of it by simply sitting on them.


I also saved the semi-circle pieces that I cut out of the bed and glued them together to make a rounded cat scratcher. Ginny was really interested in it, I wonder if it will act like a kitty/kid speed bump when they race around the house.
Overall I think the project was a huge success. I spent a grand total of $7 on the whole thing, because I had to get hot glue sticks, a BIG bottle of Elmer's glue and I wanted colored duct tape instead of the boring silver. I would say for a savings of $43 plus shipping I am VERY pleased with the end result.


The next thing I had to do was to cut all of the boxes up.

Here's the boxes cut up, I cut them into square sides and then the small rectangle flaps. Every box yielded 4 square sides and 8 rectangle flaps.
After I cut up the boxes I started marking out templates onto the cardboard.


I opted to make the square box sides into a cube. It took a while to mark all of the sides and then cut out the center of them. Before I could even attach them together Ginny cat decided that she liked the idea and I got to play ring toss with a cat as the post.

After I got all of the squares cut out I glued them together using hot glue. it took a LONG LONG time and about 5 glue sticks, My hand was also sore from squeezing the trigger so much, but it held up even when I managed to knock it onto the floor.

Here is the cube. The sides were not perfectly even as you can see in this picture so my dad and I used a saw to cut it down so that they were even. I also put some cat nip (aka kitty crack) in all of the nooks and crannies so that the cats would be more interested in it.
I used the flaps to make a bed type scratcher and following the same first basic steps of creating a template and tracing it.

I opted to give my hand a break and try some Elmer's glue on this one since I was going to also be binding the sides. I used the hubby's weights to help press down on the pieces while I glued other ones together.

Even though the pieces stuck together really well I decided since the cats were probably going to be lounging, scratching and jumping on this one a ton that I would duct tape the sides. It also added a nice pop of color :)
So here are all of the cat's checking it out. Milo of course being the extremely fat cat that he is beat the other cats out of it by simply sitting on them.


I also saved the semi-circle pieces that I cut out of the bed and glued them together to make a rounded cat scratcher. Ginny was really interested in it, I wonder if it will act like a kitty/kid speed bump when they race around the house.
Overall I think the project was a huge success. I spent a grand total of $7 on the whole thing, because I had to get hot glue sticks, a BIG bottle of Elmer's glue and I wanted colored duct tape instead of the boring silver. I would say for a savings of $43 plus shipping I am VERY pleased with the end result.
Pumpkin Update!
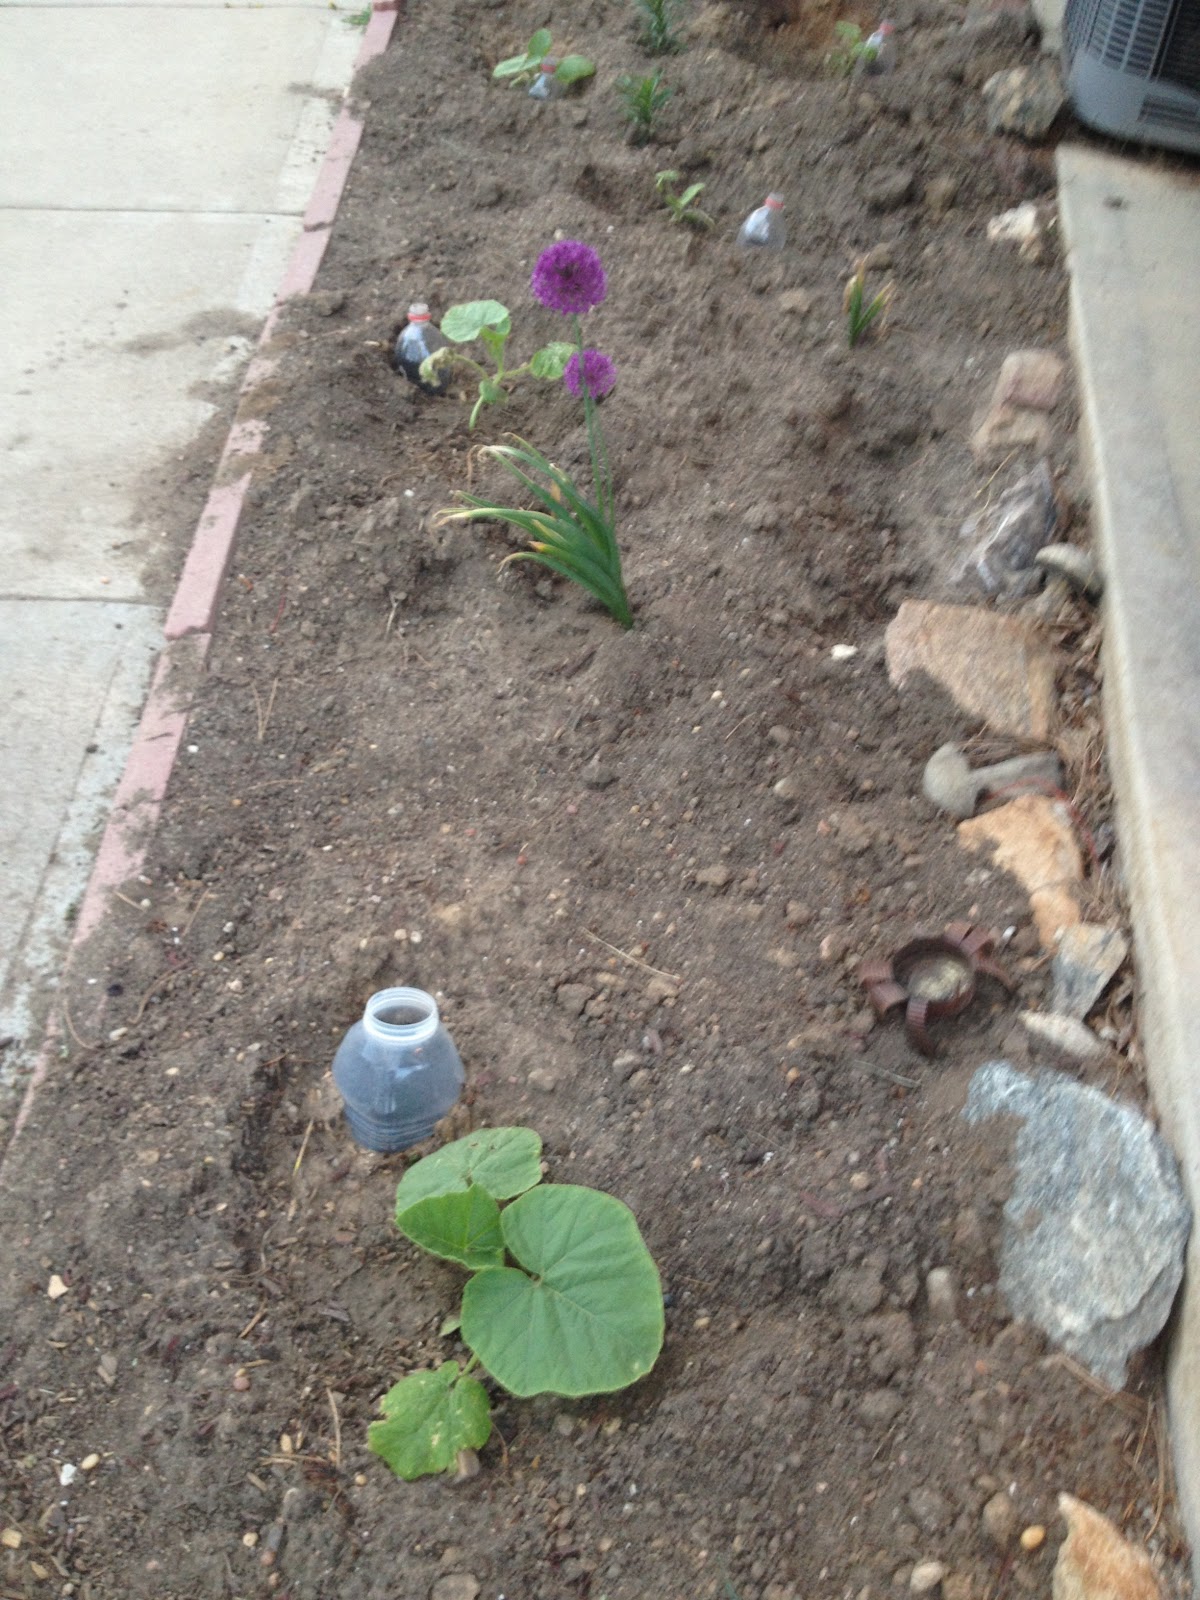
Well one of my randomly planted bulbs bloomed, and 3 of the five pumpkins that I planted have been doing well. Hopefully they will start turning into vines soon!
Very, very cool,
ReplyDeleteinstead of the glue, string a heavy cord through all the cardboard and tie off.
ReplyDeletethankyou for sharing this informative blog post this helps us mahindra tractor spray paint in uttar pradesh
ReplyDelete